.webp&w=3840&q=75)
“Ready to go live? Explore streaming tips for beginners inspired by VTuber Xyloukie Tan, from choosing a platform and setting up your microphone and OBS to checking internet speed and connecting with viewers.”
You are watching your favorite streamer or VTuber and suddenly think, “I could do this.” Then you start researching.
Microphones. Webcams. OBS. Bitrates. Capture cards. Audio interfaces. Tracking software. Overlays. Five minutes later, going live somehow feels like you are building a television station in your bedroom.
The best streaming tips for beginners are much simpler than that. Your first priorities are clear audio, a reliable connection, software you understand, and a stream concept that gives you something to talk about.
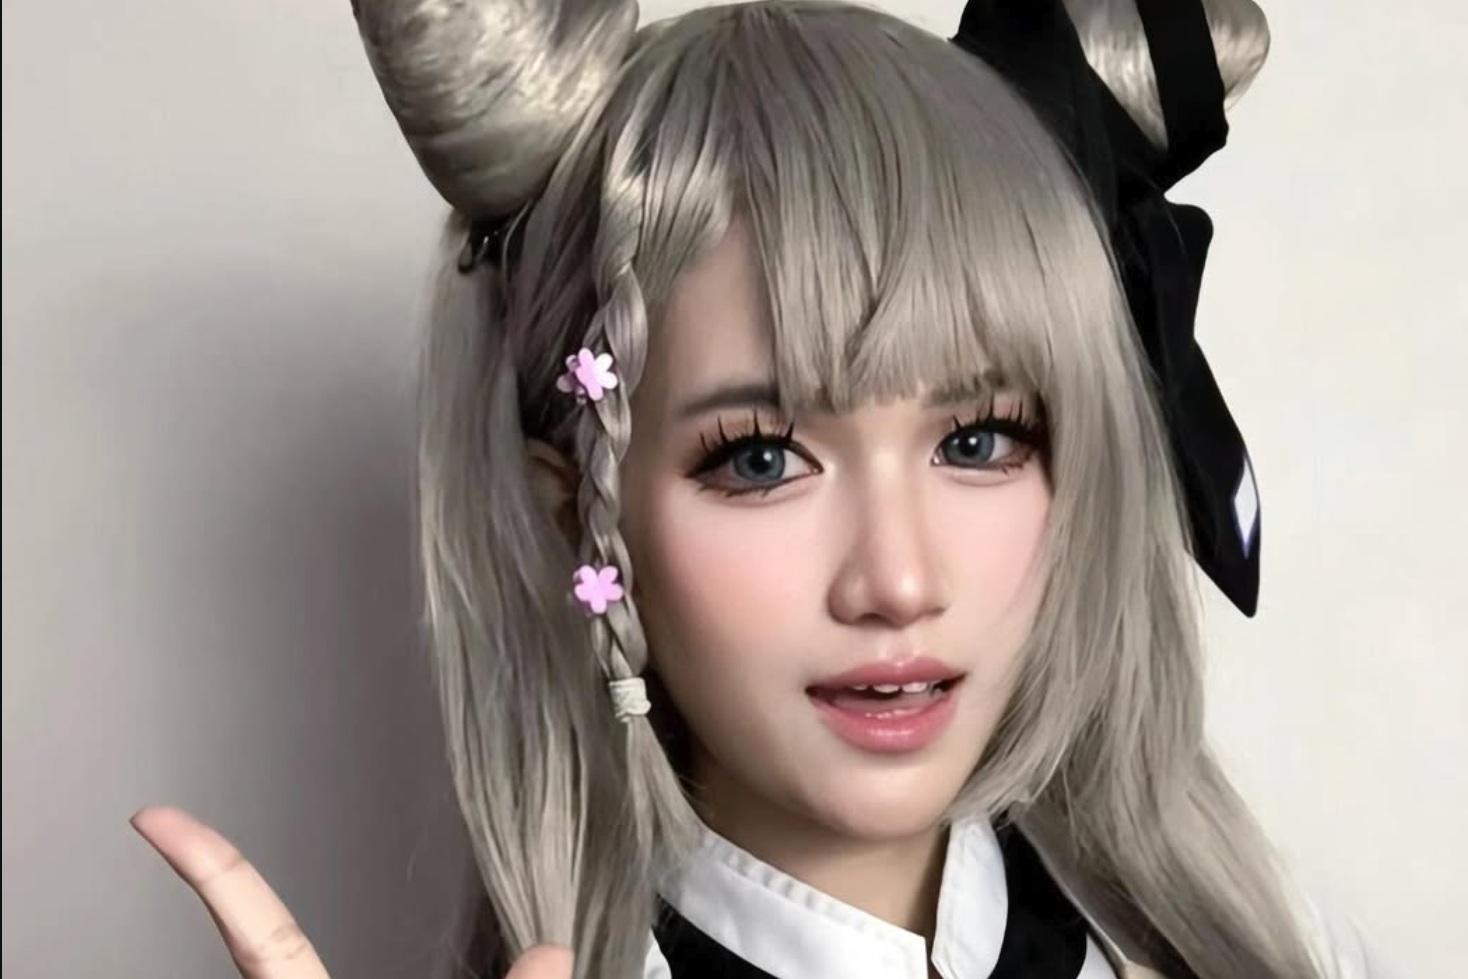
That fits closely with the advice shared by VTuber Xyloukie Tan (@xyloukietan) in FUOMO: the tools matter, but audio quality, interaction, personality, and the overall viewer experience matter just as much.
What Do You Actually Need to Start Streaming?
Area | Start With | Upgrade When It Solves a Real Problem |
Audio | Headset mic or USB microphone | XLR condenser + audio interface |
Camera | Webcam or smartphone | Dedicated camera |
Broadcasting | OBS Studio or Streamlabs | Extra plugins, overlays, automation |
VTubing | Webcam + Live2D tracking | More precise smartphone tracking |
Internet | Stable upload connection | More bandwidth and headroom |
Console | Native streaming where available | Capture card for encoder workflows |
Background | Clean room/background | Lighting or green screen |
You do not need every item in the third column before your first stream. Start with enough gear to create a stream you can hear, see, and control reliably.
1. Decide What You Want to Stream Before Buying Gear
One of the easiest ways to waste money is to buy a “streaming setup” before deciding what your streams will actually contain.
A PC gaming streamer, digital artist, chatting creator, console player, and VTuber can have very different technical requirements. YouTube itself supports several ways of going live—including mobile, webcam, console, and encoder-based streaming—because there is no single production workflow that fits everyone.
Start by choosing your basic format. Are you playing games? Drawing? Chatting? Running watch-alongs where permitted? Performing? Using a virtual avatar?
Once you know the format, equipment decisions become easier. A capture card might be important for one creator and completely pointless for another.
2. Prioritize Audio Before an Expensive Camera
Xyloukie Tan's original FUOMO advice places strong emphasis on clean audio, and that is a sensible priority for a beginner setup. A viewer can often tolerate an ordinary webcam. Harsh clipping, loud background noise, echo, or a voice that is difficult to understand is much harder to ignore.
A USB microphone is often the simplest upgrade because it can connect directly to the computer without a separate audio interface. You can move to XLR equipment later if you actually need the flexibility.
The Audio-Technica AT2020 mentioned in the original article is an XLR cardioid condenser microphone. Audio-Technica specifies that it uses an XLR output and requires 48V phantom power, which means it needs suitable equipment to power and amplify it.
That is where an audio interface such as a Focusrite Scarlett can enter the setup. Scarlett interfaces such as the 2i2 provide XLR microphone inputs and connect to a computer over USB. Focusrite also notes that condenser microphones requiring phantom power need the 48V function enabled.
USB vs XLR for Beginner Streamers
USB Microphone | XLR Microphone + Interface |
Simpler setup | More expandable signal chain |
No separate interface required | Requires an interface/preamp |
Great for compact setups | Useful as audio needs grow |
Fewer devices and cables | More control and routing options |
Easy place to begin | Better suited to a modular setup |
Do not upgrade just because XLR looks more “professional.”
A well-positioned USB mic in a sensible room can be much better than an expensive microphone configured badly.
3. Match Your Camera or VTuber Tracking to the Stream
.webp)
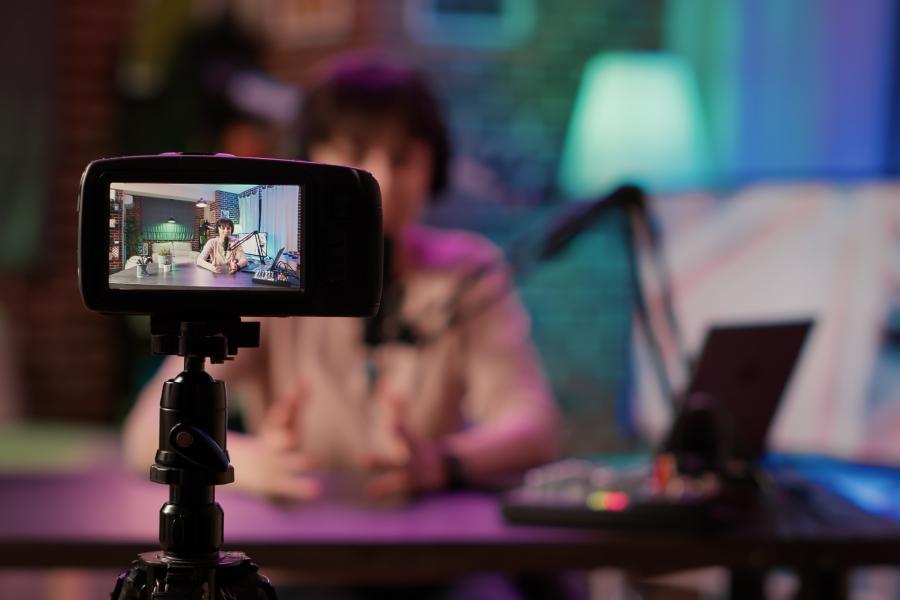
If you are showing your real face, a standard webcam is enough to begin.
Before buying a more expensive camera, try improving basic lighting and framing. A decent camera in good light will often look more pleasing than an expensive one pointed at a dark room.
For VTubers, VTube Studio uses a webcam or compatible smartphone to track facial movement and animate a Live2D Cubism model. Its official manual supports webcam and smartphone tracking and notes differences in tracking quality between iOS, webcam, and Android setups.
One important correction to the older article: VTube Studio itself is not a 3D/VRM avatar application. If your avatar is fully 3D, you will need a workflow intended for that model format instead.
Headphones are also worth using during a stream. They stop game audio, alerts, or voice chat from playing through speakers and feeding back into the microphone.
4. Understand Upload Speed and Bitrate Before Going Live
Fast download speed does not automatically mean your connection is good for live streaming.
The important number is upload bandwidth, because your system is continuously sending video and audio to the platform.
YouTube recommends testing upload speed and keeping the total stream bitrate below the available upload bandwidth. Its current guidance also recommends leaving roughly 20% headroom, which gives the connection some space to handle normal fluctuations.
That is why forcing the highest resolution is not always the best decision. A stable 720p stream can create a better viewer experience than an unstable 1080p stream that constantly drops frames or buffers.
YouTube publishes codec-, resolution-, and frame-rate-specific bitrate recommendations, so check the current encoder guide for the platform you use rather than relying on one bitrate number forever.
5. Learn the Basics of OBS or Streamlabs
If you want gameplay, a camera, overlays, alerts, and multiple visual elements on one broadcast, you will probably use encoder software.
OBS Studio includes an Auto-Configuration Wizard that considers your intended use, computer hardware, and network conditions to recommend a starting configuration. From there, scenes are built using sources such as game capture, webcam feeds, text, images, and other inputs.
Streamlabs Desktop provides a more integrated ecosystem around overlays, custom alerts, widgets, chat, and audience-engagement tools. That can be convenient when you want many stream elements managed in one place.
For your first stream, ignore most advanced features. Build one main scene, verify that the microphone works, confirm the game or desktop is visible, and create a simple break scene if you need one.
A boring setup that works is better than a beautiful setup you cannot troubleshoot.
.webp)
6. Treat Capture Cards and Green Screens as Optional Tools
A capture card is useful when you need to bring video from an external device—such as a console or certain cameras—into a computer-based broadcasting workflow.
It is not automatically required for everyone.
YouTube notes that modern consoles can support direct streaming, while an encoder setup is useful when creators want gameplay plus external microphones, cameras, overlays, or more advanced production.
Green screens work the same way: they are useful when the visual concept needs them. A clean background with decent lighting is perfectly acceptable for a beginner stream.
Buy optional gear when you can explain what problem it will solve.
7. Give Viewers a Reason to Stay and Return
Equipment gets the stream online. Personality gives the stream a reason to exist.
Xyloukie Tan's advice emphasizes interaction and atmosphere. Read chat when the moment allows it, acknowledge viewers naturally, react to what is happening, and let the audience feel that they are part of the session rather than watching somebody silently play a game.
You can build recognizable habits over time: a greeting, recurring joke, weekly format, stream challenge, or a particular way of reacting to something your community already understands.
Consistency does not mean streaming every day. It means choosing a schedule and format you can realistically maintain without burning yourself out.
Your first broadcast does not need to resemble a channel that has existed for five years. It only needs to be enjoyable enough that you want to do a second one.
Before Your First Stream
Do a short recording or private test before going live. Check the microphone, game audio, camera or avatar, alerts, chat, and internet connection. YouTube specifically recommends testing with audio and movement similar to what will happen during the real stream, then monitoring stream health once the broadcast begins.
Close private notifications and anything on your desktop that you would not want accidentally shown during screen capture.
Then stop adjusting the overlay. Go live.
FAQ Streaming Tips for Beginners
What equipment do I actually need to start streaming?
At minimum, you need a device capable of streaming, a stable internet connection, usable audio, and the software or platform required for your chosen format.
Webcams, audio interfaces, capture cards, green screens, and additional hardware are upgrades—not admission tickets.
Should a beginner use OBS or Streamlabs?
Both can work.
OBS gives you a flexible scene-and-source workflow and includes an Auto-Configuration Wizard. Streamlabs integrates overlays, alerts, widgets, and other creator tools more directly. Choose whichever fits your computer and makes more sense to you.
How much upload speed do I need?
There is no single number because the requirement depends on your bitrate, resolution, frame rate, codec, and platform.
Test your upload speed, use the current bitrate recommendations for the platform, and leave some headroom. YouTube currently recommends approximately 20% extra upload capacity beyond the stream bitrate.
Do VTubers need an iPhone?
No.
VTube Studio supports webcam and compatible smartphone tracking. The tracking experience can differ by hardware, and VTube Studio is designed around Live2D models rather than 3D/VRM avatars.
Conclusion
The best streaming tips for beginners start with the basics: clear audio, a stable internet connection, and a simple setup you can control. As Xyloukie Tan emphasizes, great streams aren't just about equipment. They're about creating an atmosphere that keeps viewers coming back.
Start simple, test your setup, and hit Go Live. You'll get more comfortable with every stream. "Go Live" button!